


Learn how to wrap custom thread in-lays to make any wrap’s appearance truly pop on the water.
How to Wrap Thread In-Lays in Rod Building
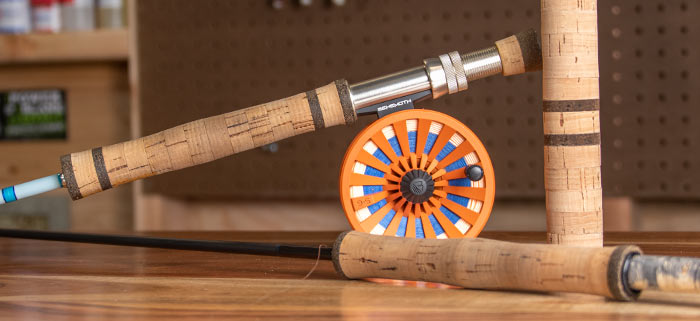
Custom thread wraps are one of the most fun and unique aspects of rod building. Considering the number color options and wrapping styles, it’s rare that any two custom fishing rods have the same thread wraps.

Whether it’s for your customer, friend, or even yourself, read on to learn how to dress up your custom thread work with in-lays in just 5 simple steps.
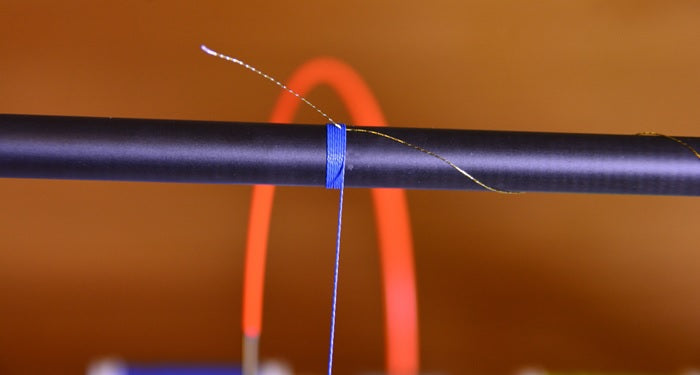
Step 1: Start Thread Wrap
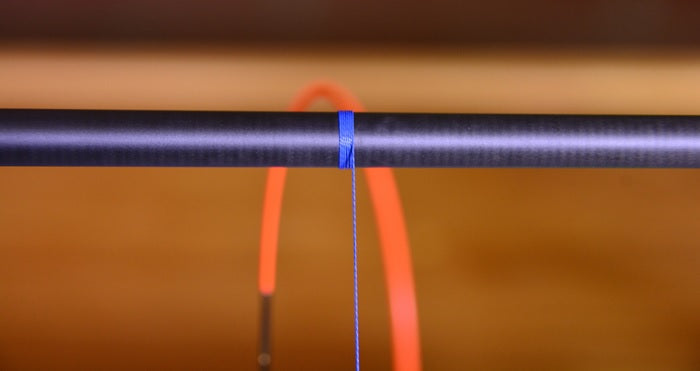
First, start the thread wrap like you would any other. Wrap the main thread around twice, then hop the running thread over the first two wraps and continue wrapping over the tag end.
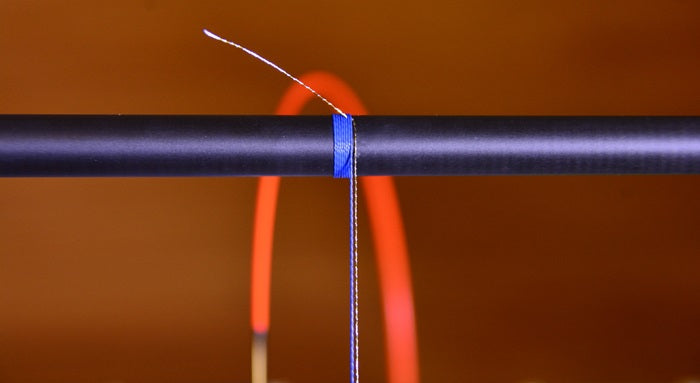
Once you’ve wrapped roughly 5-8 times over the tag end, cut it flush with the thread wrap by laying a razor blade flat against the wrap and pulling the tag thread over it.
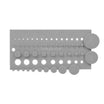
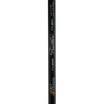
Now your thread should look something like this:
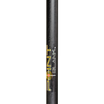
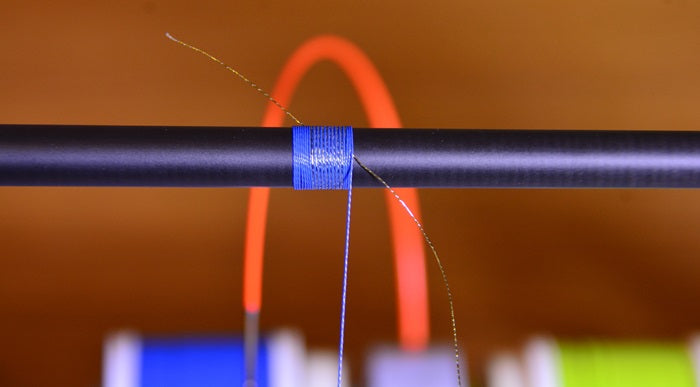
Step 2: Add and Lock Second In-Lay Thread
Next, take a second thread and tuck it under the thread wrap you have started in step 1. After it’s tucked under the running thread, again wrap 5-8 times over the in-lay thread to lock it in place.
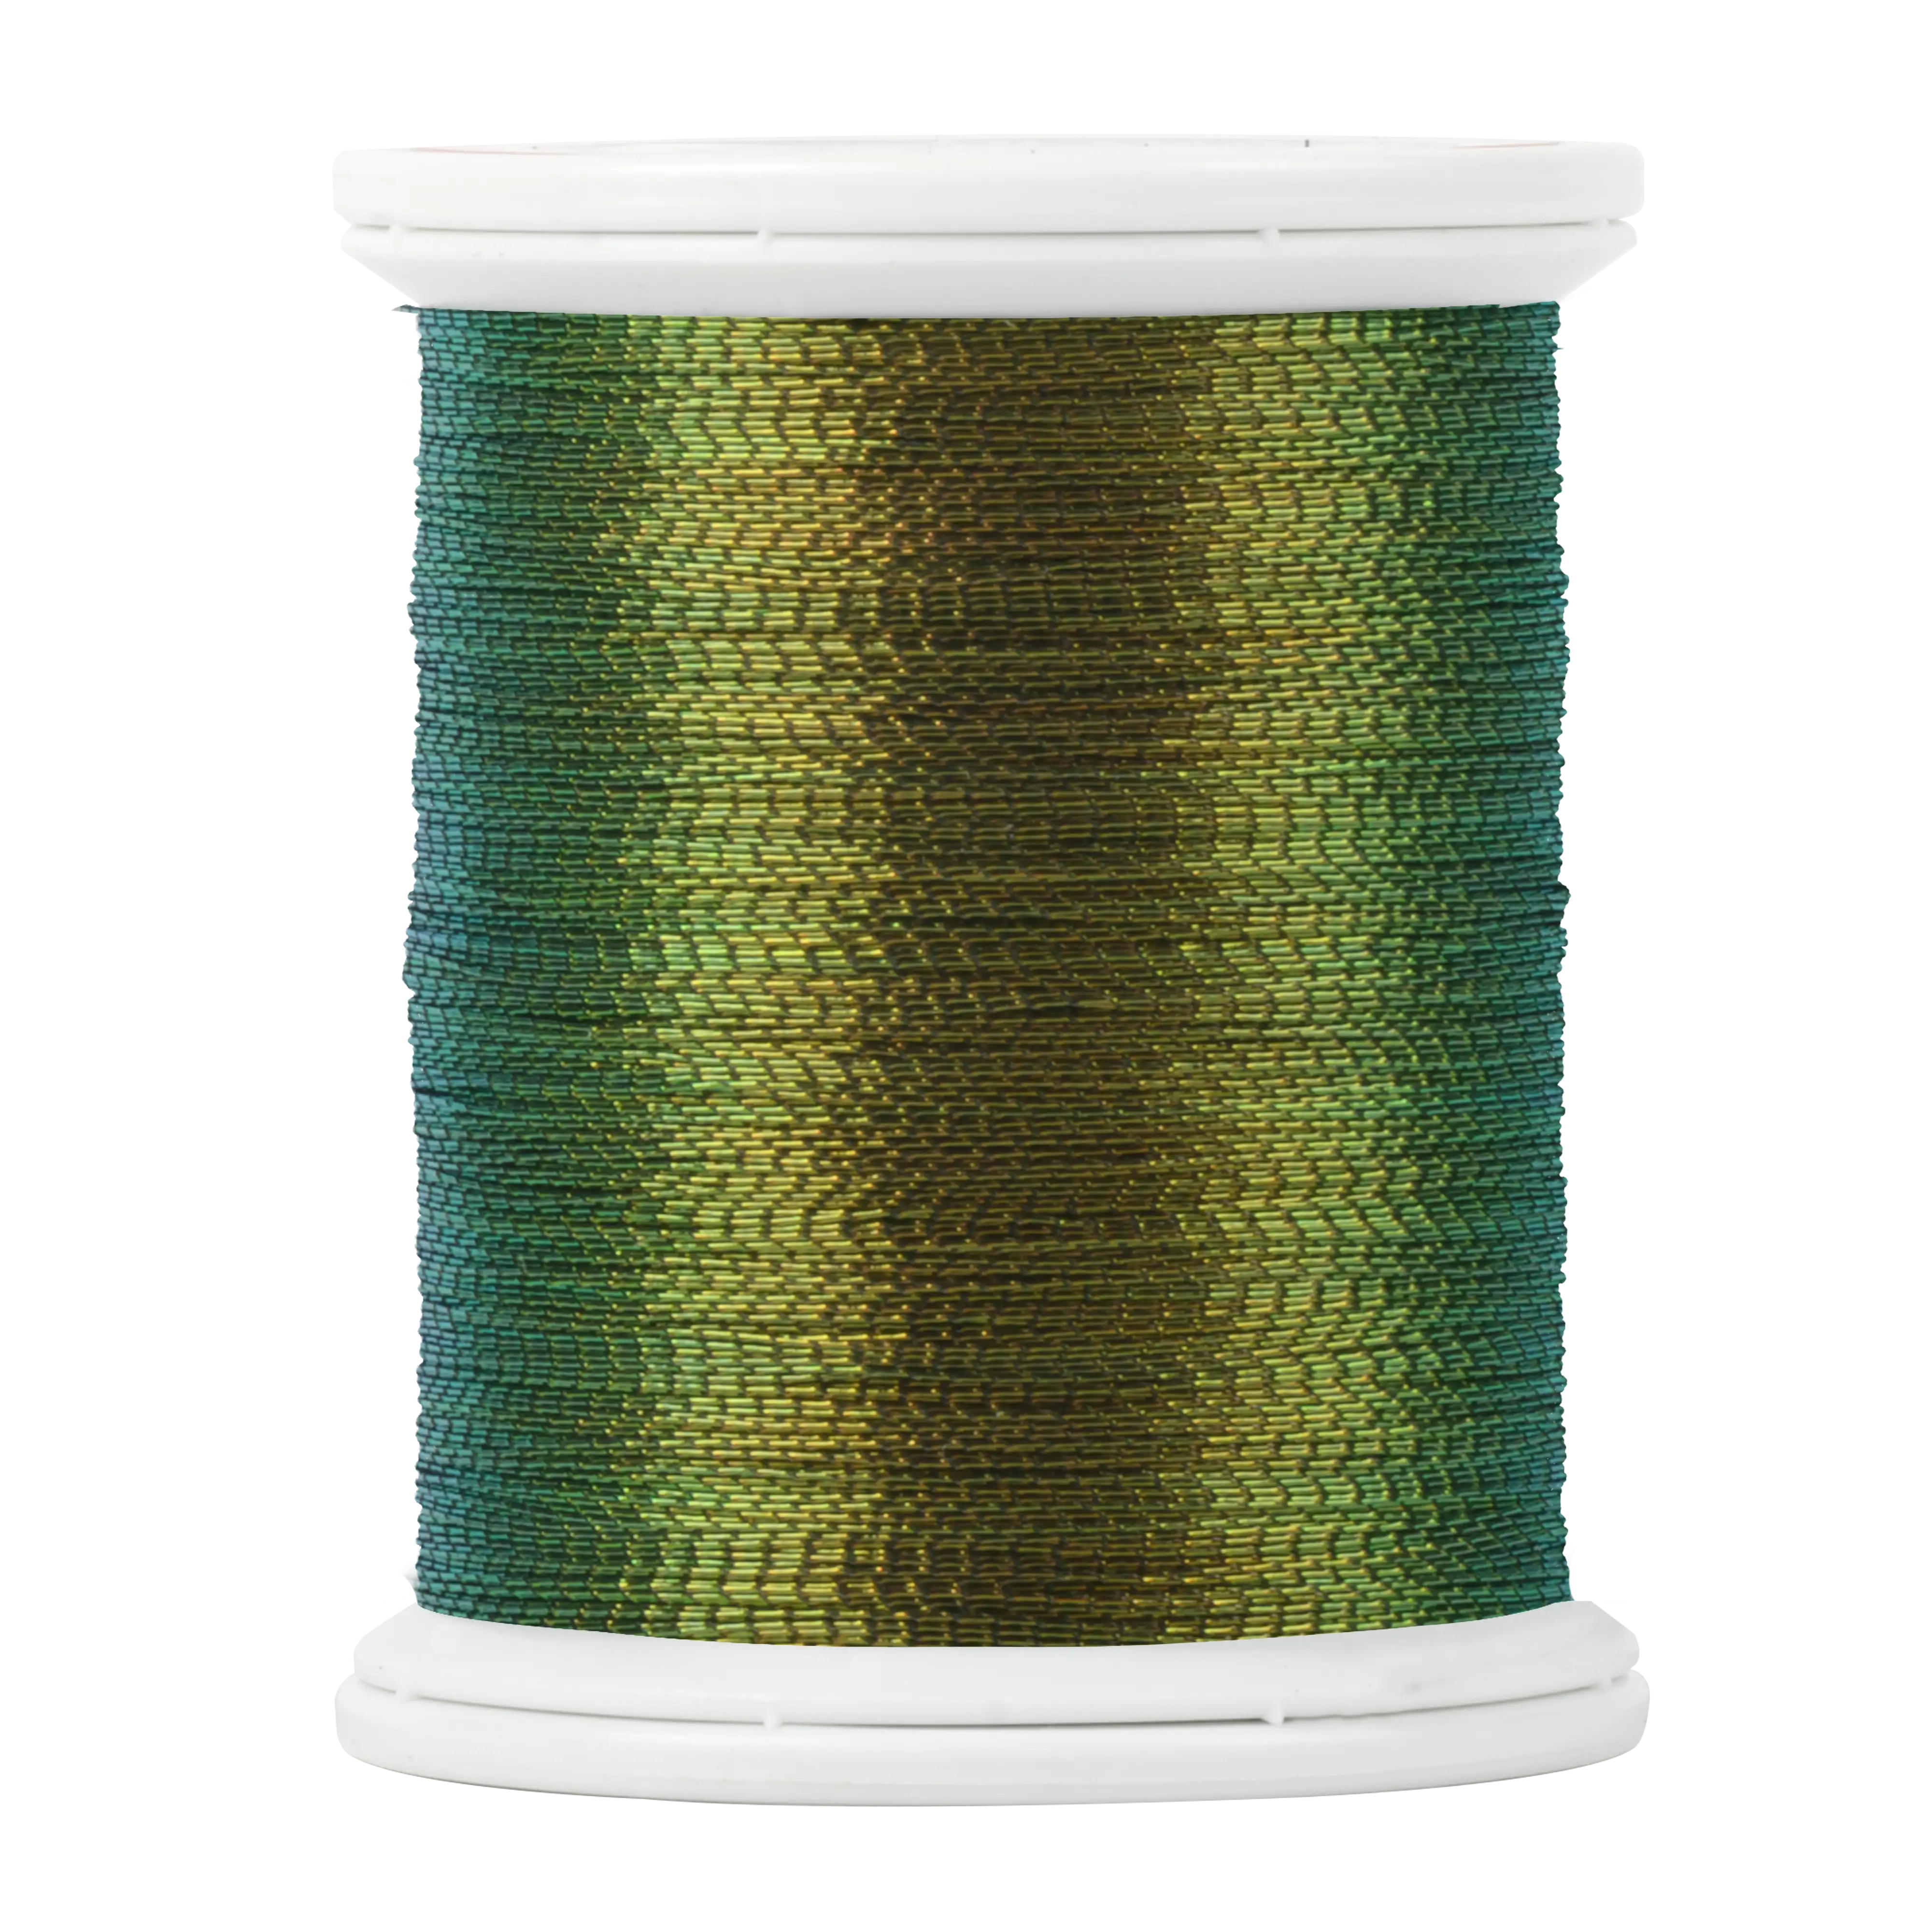
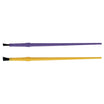
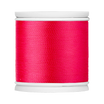
To make the in-lay thread stand out from the thread wrap, choose a contrasting color from the running thread. Rod builders often use metallic threads for in-lays because these shiny threads really pop in the sun and on the water.

If you want to add more color variation, try a double in-lay by just adding a third thread and continuing the steps below.
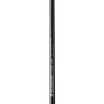
Step 3: Wrap Threads Side by Side
With the in-lay locked down, line-up the running thread and the in-lay thread side by side. Then, wrap the two threads side by side, but make sure the two threads never cross over each other.
If the threads cross, your pattern will be disrupted and have a diminished effect when it’s complete.
After you wrap your desired length, lock off the in-lay thread by continuing to wrap only the running thread over the in-lay.
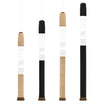
Step 4: Add Matching Trim Band Wrap
For some, the in-lay in the thread wrap will be enough, however there are others who will want to take it a step further. Coordinating the in-lay thread’s color with the trim band not only looks awesome, but it can be done using the same exact thread.
Rather than trimming the in-lay thread, lock it off with the running thread and set it aside. After you complete the running thread wrap, simply grab the in-lay thread off to the side and wrap it directly after the main wrap.
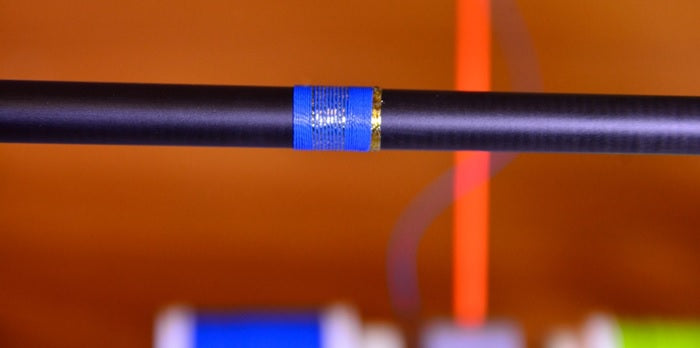
Just like that you have a trim band. When you get to the desired length trim band, complete the thread wrap. This will give you a trim band that matches the in-lay and boosts the final custom appearance that much more.
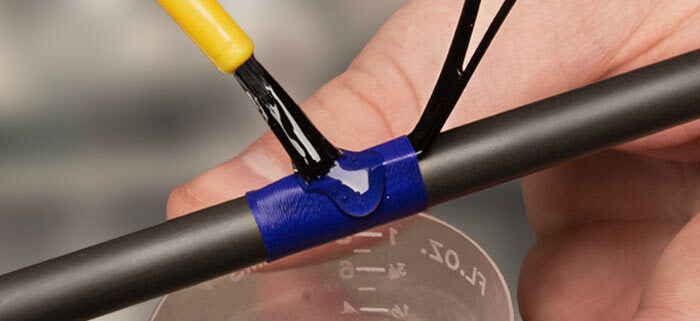
Step 5: Finish, Cure, and Fish
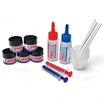
Finally, with the wrap complete, use a two-part epoxy like ProKöte, and finish over the entire thread wrap. After you let it cure for a full 24 hours, your custom wrap and rod are ready to go fishing!
If you want tips to improve your Thread Finish read: Rod Building's 4 Ways for Better Epoxy Finish
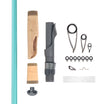
CRB Tips: How to Add Metallic Thread Inlays
Find out how to add your own thread inlays to any guide wraps, ferrule wraps, and more on your custom fishing rods.
ProWrap’s Innovative Rod Winding Threads
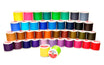
Custom threadwork is a fast and fun way to personalize your fishing rod and since the thread possibilities are endless, ProWrap Rod Winding Thread just keeps adding new colors!
Take ProWrap Glo-Wrap for example, which is an all new thread that glows in the dark after exposure to UV light.

From Premium Metallic and Glo-Wrap to Fusion Variegated and Tiger Threads, ProWrap leads the way in innovating awesome color options for rod winding thread.
Stock up on all your Wrapping Thread and feel the pride of catching fish on a true custom rod!

Leave a comment
This site is protected by reCAPTCHA and the Google Privacy Policy and Terms of Service apply.